BASE MATERIAL:
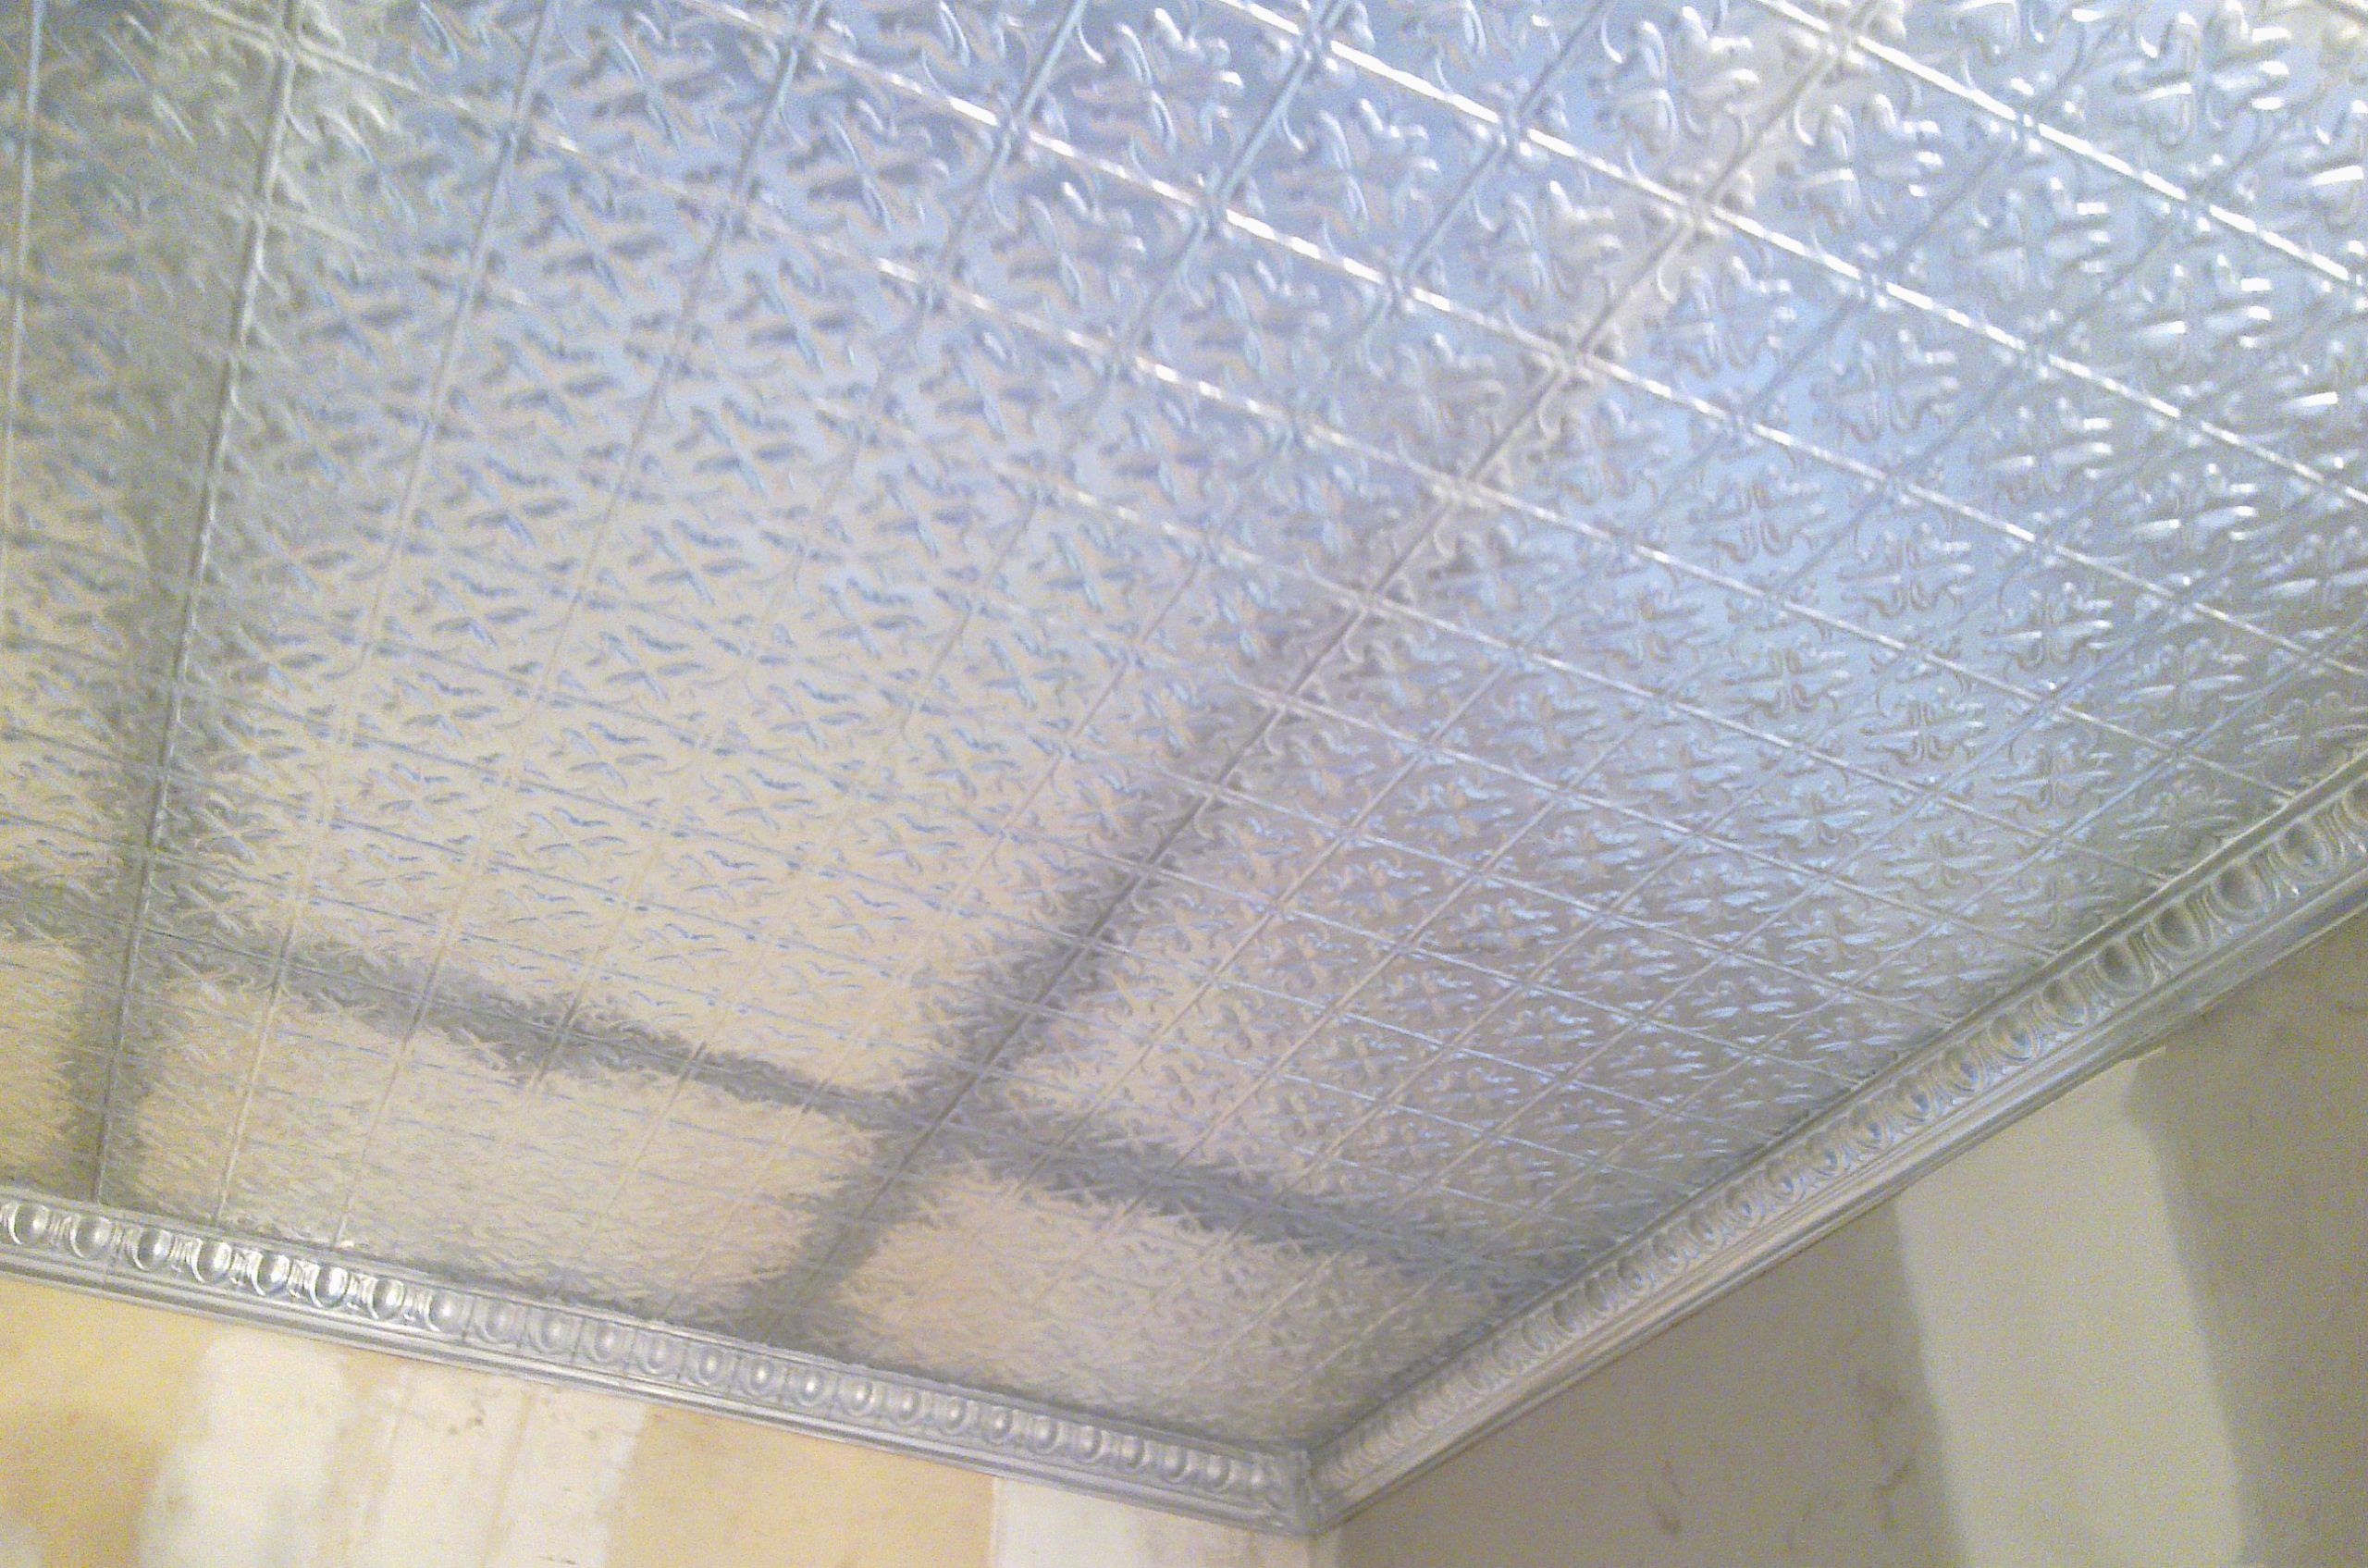
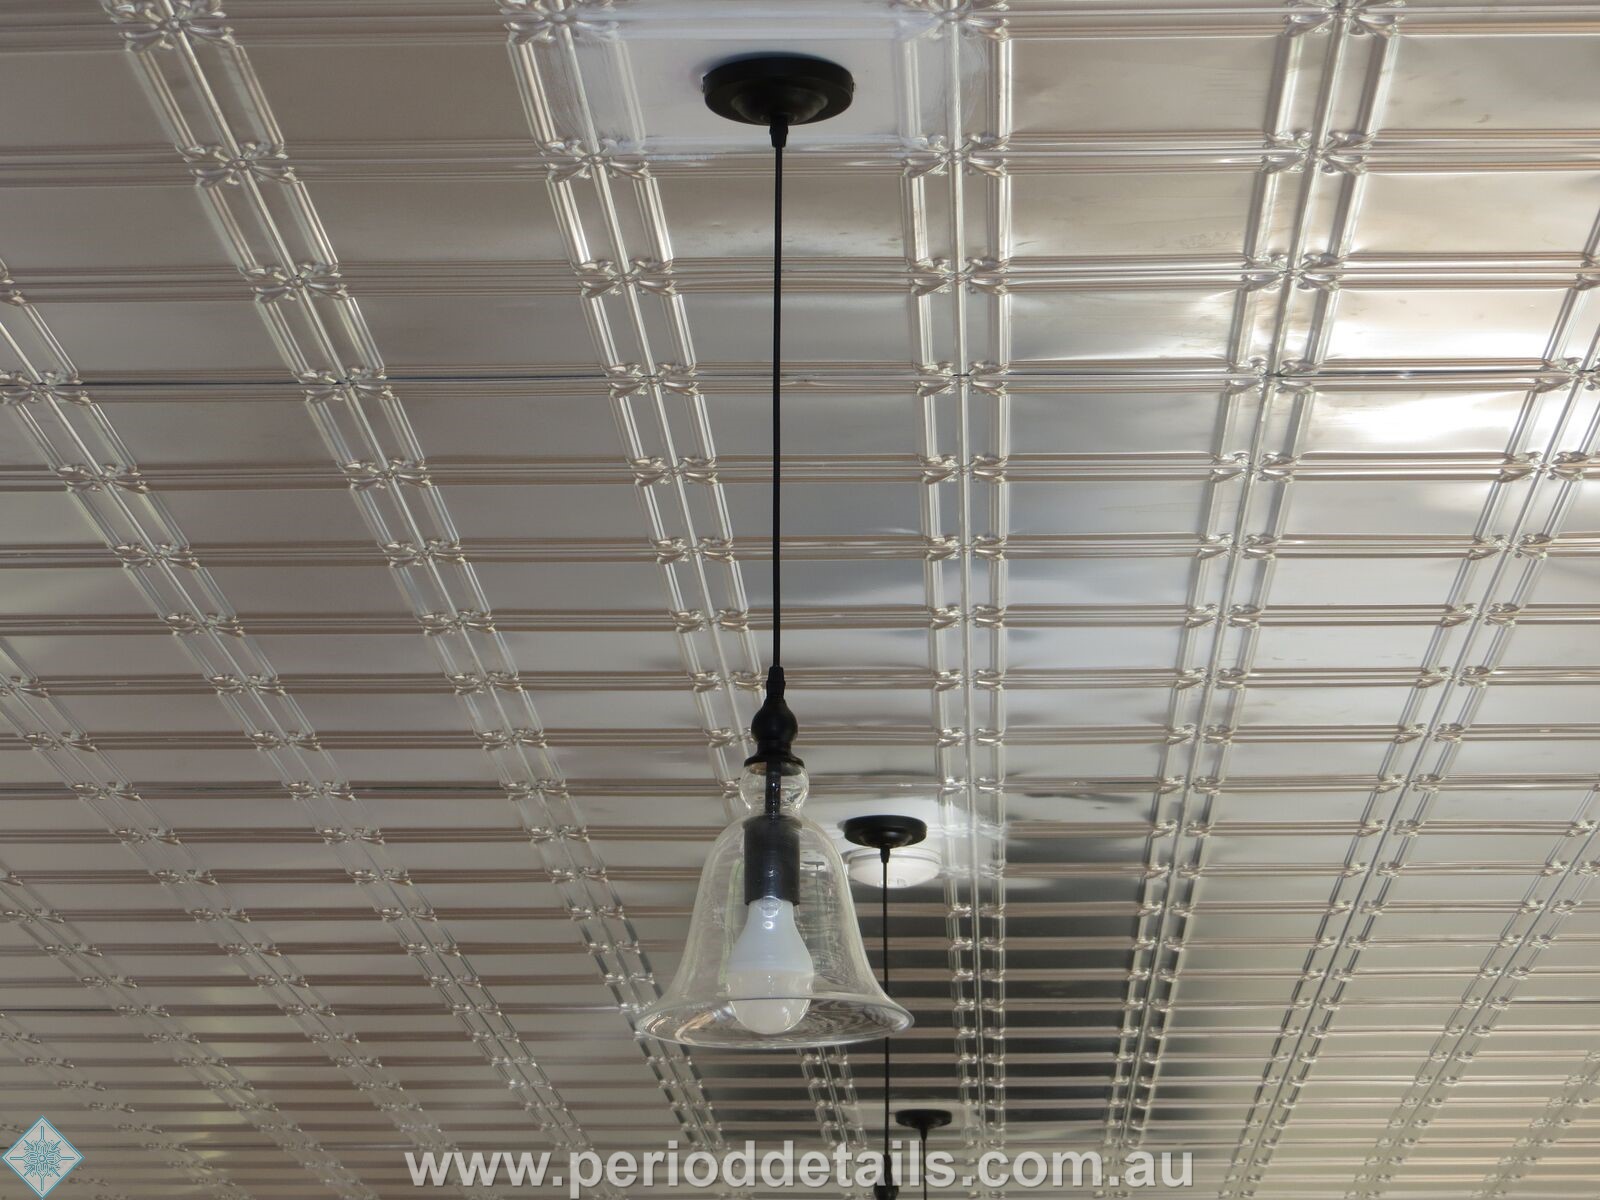
Our Australian made ‘Pressed Tin Panels’ are made from 0.55mm mill grade Aluminium sheets, they will not rust and are suitable for both interior and exterior use.
Although the panels are only 0.55mm thick they do become quite rigid once the pressing process occurs.
CEILING COMPONENTS:
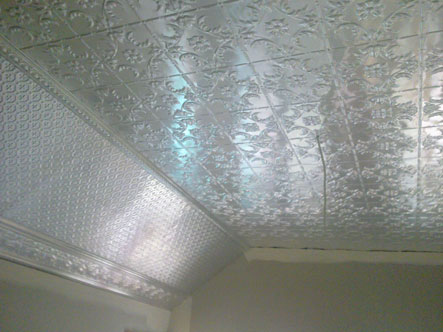
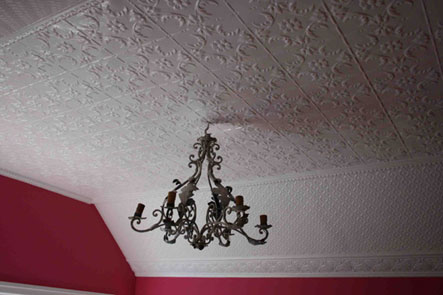
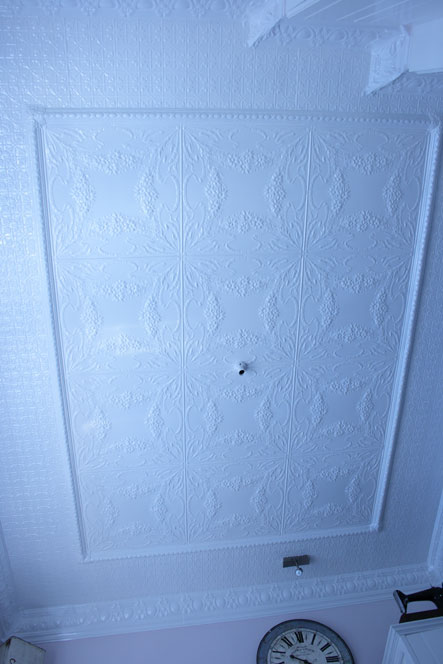
Four components can be used to create a Pressed Metal Ceiling:
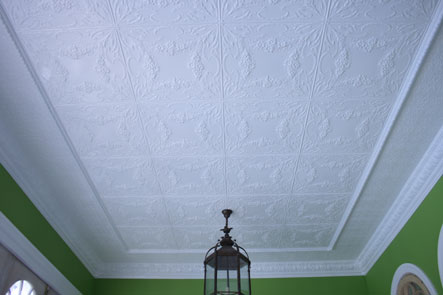
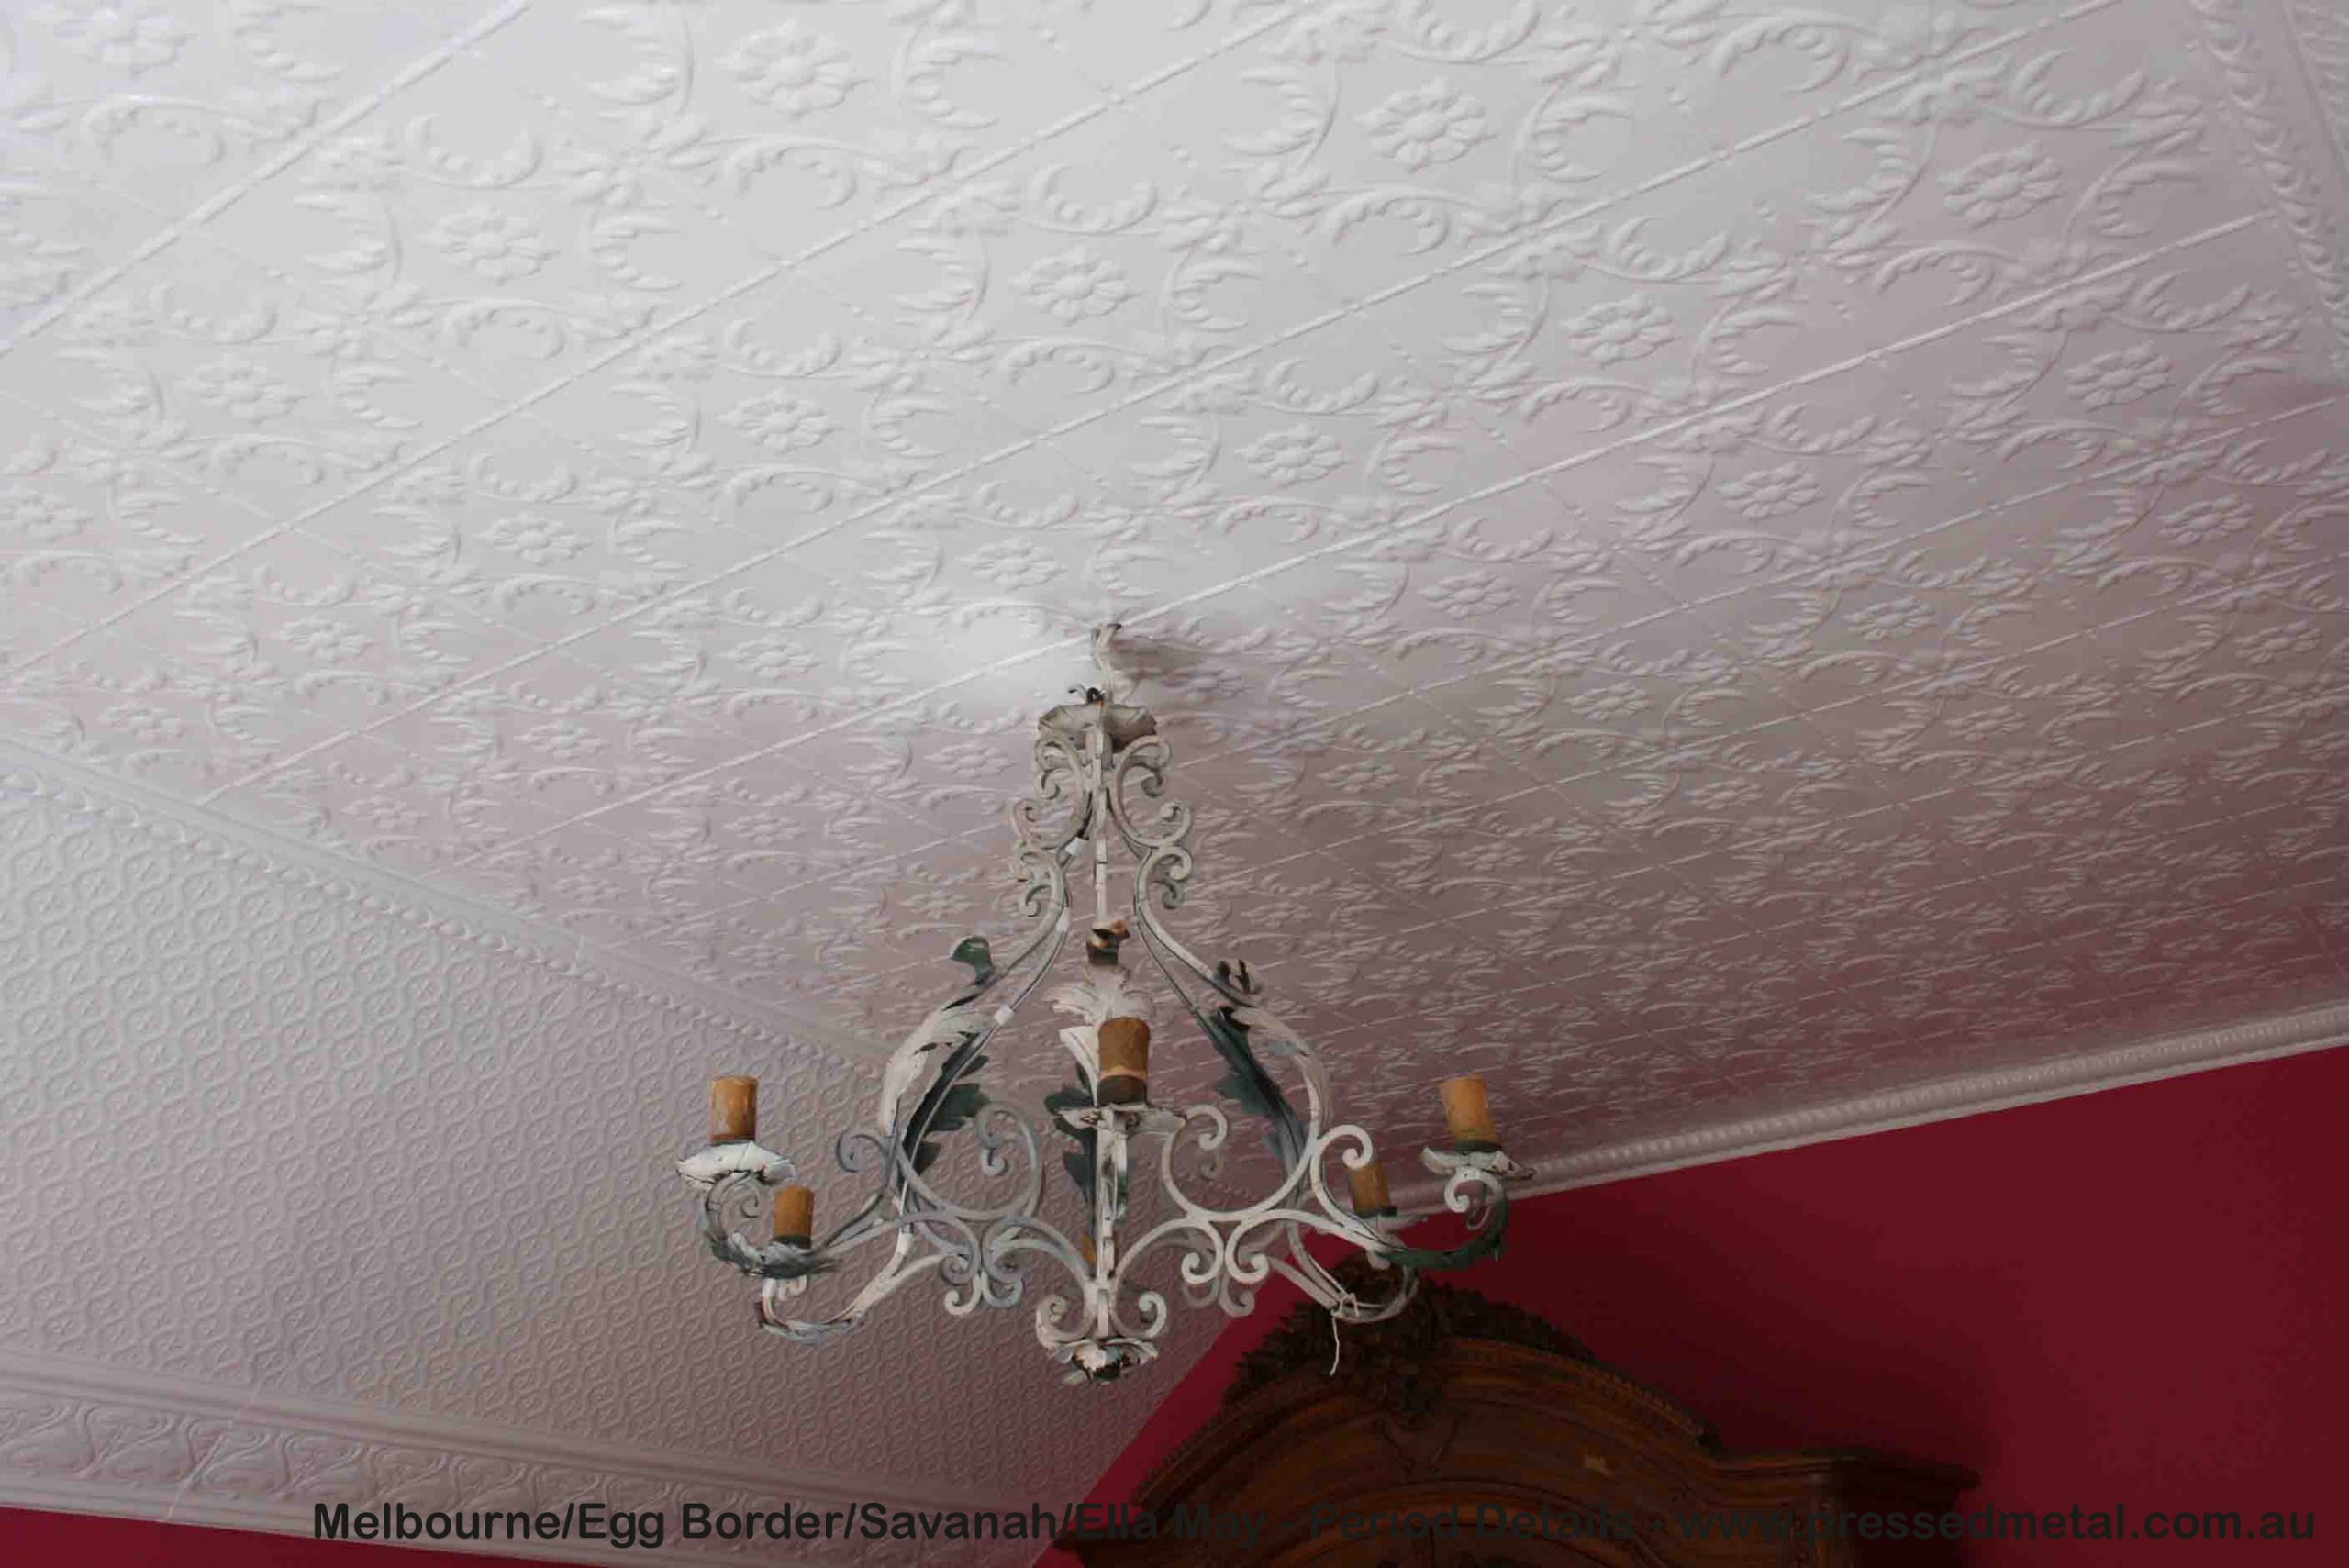
Body Panel: This is the main pattern that is installed in the centre of the ceiling – it is the focal point of the room. It is often a larger pattern repeat.
Border: This is a thin strip pattern that separates the Body Panel from the infill panel.
Infill Panel: This panel is used as a filler between the cornice and the border. It is usually a smaller pattern repeat
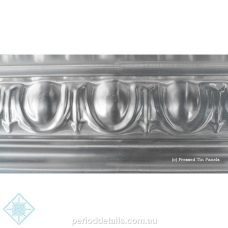
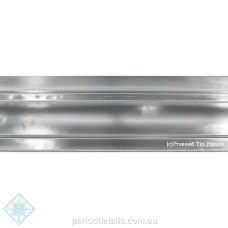
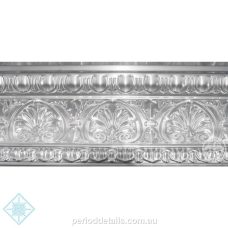
Cornice: Used on the outside edge of the ceiling. Choose a large cornice for high ceilings.
BEFORE YOU PLACE YOUR ORDER:
Bring in or email us a plan of your ceiling and photos. We will calculate the number of panels you require and advise on suitable cornice and mitre leaves . With over 30 years’ experience in supplying and installing Pressed Metal we can provide you with design ideas and the most economical layout.
WHICH PATTERN SHOULD YOU CHOOSE:
Chat to our sales staff to determine the best pattern for your ceiling. We have found that the 152mm pattern repeats work well in small rooms and on lower ceilings. In larger rooms and on higher ceilings larger pattern repeats can be used either 610mm square repeats or 305mm repeats.
CEILING SUBSTRATE:
Preferred Option : 15-17mm ply substrate
- 12mm ply substrate
- Plaster ceiling
Please note that MDF is not a suitable substrate for nailing into.
Period Details do not recommend Ply panels less than 12mm as they can buckle.
Pressed Metal Ceiling: INSTALLATION INSTRUCTIONS
BEFORE YOU BEGIN: READ THROUGH THE INSTRUCTIONS
Tools that may be required:
- Tape measure and a sharp builders pencil
- Chalk line or laser
- Straight Edge
- Stanley Knife and spare blades for the Stanley Knife
- Tin Snips – aviation grade ,curved (right and left handed)
- Angle Grinder with aluminium cutting disc
- Drill and Hole Saw for cutting pendant/down light holes
- Soudal Fix All High Tack Glue – 1 + tube per panel for 915 mm sheets and 2 + tubes per every 3 610mm panels
- Small Rivets and/or soft sheet nails
CAUTION SHOULD BE USED AT ALL TIMES AS METAL EDGES CAN BE VERY SHARP.
Ceiling lights: for your safety it is best to have an electrician disconnect lights and/or fans
STEP 1: INSTALL THE CORNICE
STEP 2: MEASURING AND LAYING OUT THE PATTERN
Measure the ceiling where the panels will be installed. Determine how you will set out the pattern. For a neater finish center the first panel to the center of the ceiling and work out from there in every direction.
- Which direction will you have the overlap in?
- Which is the prominent way you look at the ceiling?
- Where is the light source?
Remember all panels are pressed to allow a 7mm (approximately) overlap join on every edge.
- On the backs of the panels there are directional stickers. Please ensure all your panels are installed in the same direction. This will provide a much neater overlap.
- Before starting work out your overlap/underlap placement. This can vary as you work around the room. As you walk into the room you will overlap the panels so you are not looking into the join. At the center of the room you may change this direction e.g. the center panel may overlap in both directions.
STEP 3(A): INSTALL THE CEILING PANELS (17mm Ply Substrate) – Use 25mm Soft sheet Nails
- When installing the ceiling panels you must start in the middle of the ceiling and work out to the edges, lapping the panels as you go. We recommend that you grid the ceiling with chalk or a laser so that you can adjust the panels (if required) as you go to ensure that they continue to run in a straight line.
- Depending on what your particular layout is, you will start installing with either the panel edge or the middle of the panel aligned with the chalk lines. When ready, start fitting the main panels to this line, either with the edge of the panel on the line or the centre of the panel on the line depending on the layout.
- The placement of nails is important. They should only ever be nailed into the panel in the decorative areas. Providing they are nailed into decorative areas then the nail heads won’t be noticeable when the panels are painted. Many designs have little “bumps” in the pattern and these are ideal to be used for nailing.
- At the start of the installation partially nail the panels to the ply at 610 mm intervals. When you have your first few panels in position stand back and take a look at the job to ensure you have got the panels in the right spot. If the panels need to be moved slightly then your tacking nails can easily be removed without damaging the panels.
- Once you are happy with the panel placements, nail at 305 mm intervals across the panels and bring that down to approximately 150 mm around the edges. Buy 1.4 mm x 25 mm zinc plated soft sheet nails. Sometimes 1.4 mm nails are not available in some hardware stores so you will have to use 1.6 or 1.8mm x 25mm nails instead.
- The panels should fit tightly together at the lap-over joins. No shadow lines should be visible after the panels are installed and painted. A trick to make them tighter is to use small piece of timber and shape the edge to close the gap of the overlap/underlap and additional nails as required
STEP 3(B): INSTALL THE CEILING PANELS (12mm Ply Substrate) – Drill and Rivet
- When installing the ceiling panels you must start in the middle of the ceiling and work out to the edges, lapping the panels as you go. We recommend that you grid the ceiling with chalk or a laser so that you can adjust the panels (by a tiny bit) as you go to ensure that they continue to run in a straight line.
- Depending on what your particular layout is, you will start installing with either the panel edge or the middle of the panel aligned with the chalk lines. When ready, start fitting the main panels to this line, either with the edge of the panel on the line or the centre of the panel on the line depending on the layout.
- The placement of rivets is important. They should only ever be placed into the panel in the decorative areas then the rivet heads will be hardly noticeable when the panels are painted. Many designs have little “bumps” in the pattern and these are ideal to be used.
- Use a prop or have someone to assist you in holding the panel in place. Drill and rivet the panels in place. Use 2.4 x 8mm x rivets. Rivet at 305 mm intervals across the panels and bring that down to approximately 150 mm around the edges.
- The panels should fit tightly together at the lap-over joins. No shadow lines should be visible after the panels are installed and painted. A trick to make them tighter is to use small piece of timber and shape the edge to close the gap overlap/underlap together and additional rivets as required
STEP 3(C): INSTALL THE CEILING PANELS (Plaster Substrate) – Glue and Rivet
- When installing the ceiling panels you must start in the middle of the ceiling and work out to the edges, lapping the panels as you go. We recommend that you grid the ceiling with chalk or a laser so that you can adjust the panels (by a tiny bit) as you go to ensure that they continue to run in a straight line.
- Depending on what your particular layout is, you will start installing with either the panel edge or the middle of the panel aligned with the chalk lines. When ready, start fitting the main panels to this line, either with the edge of the panel on the line or the centre of the panel on the line depending on the layout.
- Use a generous amount of Soudal Hightack Fixall Adhesive on the high spots on the back of the panel. Minimum of 1 tube per 1830 x 915mm panel.
- Use a prop or have someone to assist you in holding the panel in place. Wipe over the front of the panel with a soft cloth to ensure good adhesion between the back of the panel and the plasterboard.
- The panels should fit tightly together at the lap-over joins. No shadow lines should be visible after the panels are installed and painted.
- A trick to make them tighter is to use small 2.4 x 8mm x rivets to close the overlap/underlap together.
STEP 4: CUTTING THE PANELS
- Some panels will need to be cut to size.
- Lay the panel face down (sticker is on the back) on a stable work table covered in an old clean rug/blanket – we use felt underlay.
- Measure and scribe the panel where it is to be cut. Use a straight edge and a Stanley knife with a brand new blade.
- Score 5-6 times then rock against the straight edge and the metal will snap.
- Check that it fits. If the panel needs to be adjusted, measure and scribe again.
- If it is a narrow area to be cut start by using tin snips. The strip may tear off or you may need to cut the whole length with tin snips.
- If using an aluminium grinding disc edges will burr and need to be cleaned up.
Second and subsequent panels.
- Measure where the next panel is to be installed (remember to allow for overlaps)
- Cut and fit the next panel as per above.
Ceiling lights:
- Mark the position of the light on the back of the panel.
- Drill a hole generally around 35mm in the centre point with the hole saw.
STEP 5: PAINTING THE PANELS
- The panels need to be painted. They are unfinished when they leave the factory. All our aluminium products are washed in a non-chromate solution to prepare the surface for painting. You need to wipe all finger prints and marks from the panels prior to applying an under coat.
- Undercoating of panels is recommended, E.g. Dulux 1 Step-Undercoat-Primer-Sealer
- Once panels are undercoated then use Paintable No-More Gaps to smooth into the joints. Once this is dry you are ready to topcoat.
Please note : All instructions are given as a guide only. We hold no responsibility for the incorrect installation or use of our products.
NEED FURTHER ASSISTANCE?
Visit our showroom: Open Monday to Friday 10am to 4pm, Saturday by appointment
Phone our showroom: 0405 460 997
Phone our installer: David Peake on 0418 342 930 (9am-5pm Monday to Friday). If David doesn’t answer text him a message asking to call you back.






Reviews
There are no reviews yet.